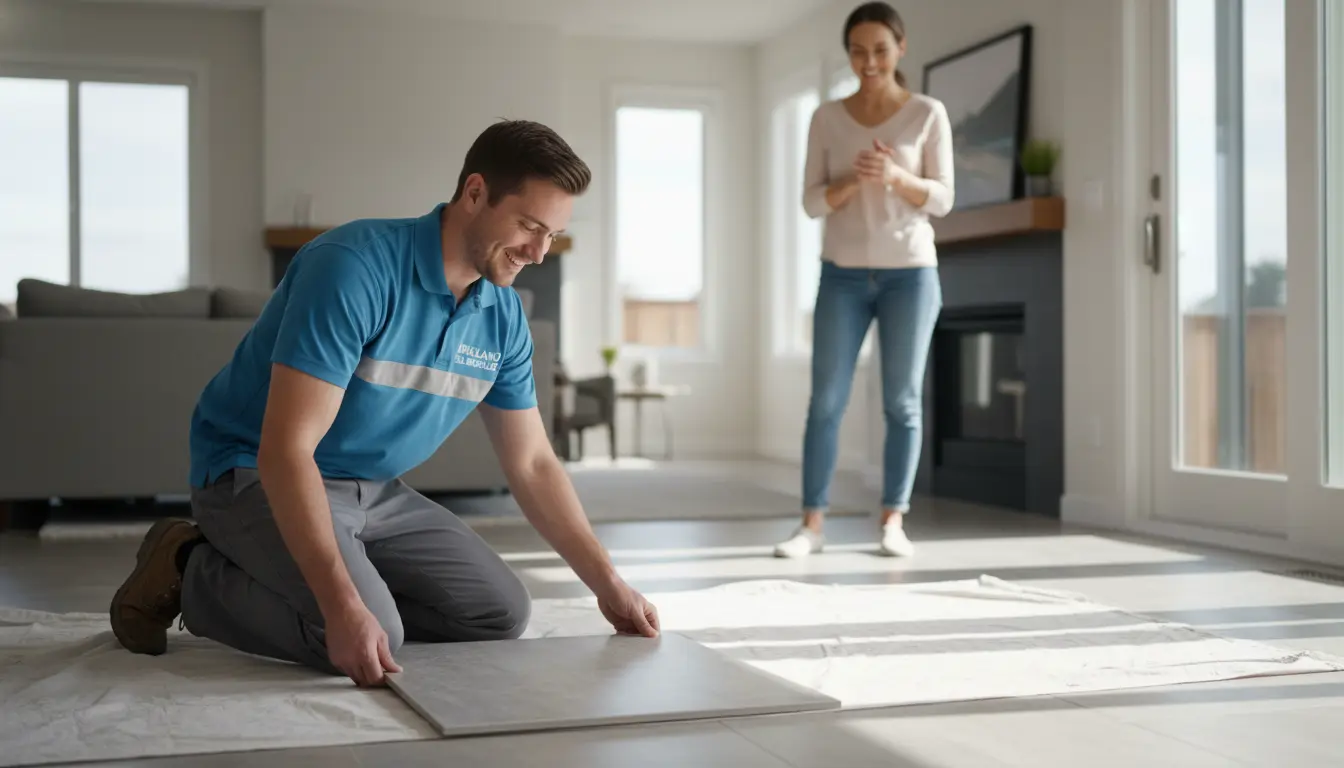
Are you dreaming of a stunning tiled backsplash in your Kirkland kitchen or a sleek bathroom floor that withstands the Pacific Northwest’s damp climate? Tile installation can transform your home, but the big question looms: should you tackle it as a DIY project or hire professionals? At Kirkland Tile Installer, we’ve seen it all—from flawless transformations to costly mistakes. In this guide, we’ll break down the key differences between professional and DIY tile installation, tailored to homeowners in Kirkland and surrounding areas like Bellevue and Sammamish. Whether you’re renovating a cozy bungalow near Lake Washington or updating a modern home in Yarrow Point, understanding these pros and cons will help you make an informed decision.
Why Tile Installation Matters in Kirkland Homes
Kirkland’s unique blend of waterfront living and suburban charm means many homes feature tiled spaces that need to handle humidity, foot traffic, and aesthetic demands. From the rainy seasons that test waterproofing to the desire for luxurious finishes in high-end neighborhoods like Redmond, proper tile work is essential. DIY might seem appealing for budget reasons, but professionals ensure longevity and compliance with local building codes.
The Appeal of DIY Tile Projects
DIY tile installation has surged in popularity, thanks to online tutorials and affordable tools available at local stores like Home Depot in Kirkland. It’s empowering to envision saving money—potentially $5-10 per square foot compared to pro rates—while personalizing your space. For small jobs, like a powder room floor, grabbing a trowel and some grout might feel straightforward.
However, the reality often hits hard. Without experience, aligning tiles perfectly or managing subfloor prep can lead to uneven surfaces. In Kirkland’s variable weather, poor installation might cause tiles to crack from moisture infiltration, leading to tile repair services down the line.
Key Differences: Professional vs DIY Tile Installation
Let’s dive deeper into what sets professional installation apart from going solo. We’ll cover cost, time, quality, and more, with tips relevant to Kirkland residents.
Cost Breakdown: Hidden Expenses of DIY
At first glance, DIY seems cheaper. Materials for a 100-square-foot bathroom might run $500-800, versus $1,500-3,000 for professional work including labor. But factor in tools (trowel, wet saw, level—another $200+), potential waste from mistakes, and time off work, and the savings evaporate.
Professionals at Kirkland Tile Installer source materials efficiently and avoid overbuying. For instance, in commercial projects near Woodinville, we handle bulk orders that keep costs down. If your DIY goes wrong, calling for tile removal services could double your expenses. Tip: Budget an extra 20-30% for DIY contingencies, especially for intricate patterns like herringbone in a Kirkland living room.
Time Investment: Weeks vs Days
A DIY weekend warrior might spend 20-40 hours on a modest kitchen backsplash, spread over weeks due to drying times and errors. Professionals? We complete the same job in 2-3 days, minimizing disruption to your busy Kirkland lifestyle—think commuting to tech jobs in Redmond or family outings to the marina.
Our teams use efficient techniques, like laser levels for precision, ensuring grout sets properly without delays. In humid Kirkland summers, pros know how to accelerate curing without compromising quality. Actionable Advice: If time is tight, opt for pros; DIY suits retirees with flexible schedules in quieter areas like Yarrow Point.
Quality and Durability: Long-Term Peace of Mind
The hallmark of professional work is its lasting quality. We use premium adhesives and sealants suited to Kirkland’s climate, preventing issues like efflorescence from mineral buildup in our rainy weather. DIYers often skimp on prep, leading to loose tiles or grout failure within a year.
For example, installing porcelain tile installation requires cutting edges precisely to fit around fixtures— a pro’s wet saw ensures clean lines, while DIY attempts might chip expensive tiles. In high-traffic spots, like entryways serving Bellevue commuters, our installations withstand daily wear. Practical Tip: Always test your subfloor for levelness; pros use moisture meters to avoid future warping in damp basements.
Skill and Expertise: Avoiding Common Pitfalls
Tile installation isn’t just laying pieces—it’s about layout planning, slope for drainage in showers, and integrating underfloor heating. Kirkland Tile Installer specializes in heated floor tiling, perfect for chilly mornings by the lake.
DIY pitfalls include poor grout mixing (too watery leads to cracks) or ignoring expansion gaps, causing buckling. We’ve rescued many a project in Sammamish where amateurs overlooked these. Actionable Advice: Practice on scrap tiles first. For complex jobs like outdoor patios near Woodinville wineries, hire experts to navigate freeze-thaw cycles.
When to Choose DIY Tile Installation
DIY shines for simple, low-stakes projects. If you’re updating a small laundry room with peel-and-stick tiles or a basic wall in your Kirkland apartment, it can be fun and feasible. Start with peel-and-stick vinyl tiles for easy application—no mortar needed.
Tips for Successful DIY:
- Measure twice: Sketch your layout on graph paper.
- Rent tools: Local Kirkland hardware stores offer wet saws by the day.
- Follow tutorials: YouTube channels from pros can guide cuts.
- Know your limits: If involving electricity (like backsplashes near outlets), consult a licensed electrician.
But for bathrooms or kitchens prone to water exposure, pros prevent mold issues common in our wet climate.
Benefits of Hiring Professional Tile Installers in Kirkland
Choosing Kirkland Tile Installer means accessing certified experts familiar with local regs, like those from King County. We handle permits, warranties (up to 10 years), and cleanup—leaving your home pristine.
In commercial settings, such as offices in Bellevue, our commercial tile installation ensures minimal downtime. Homeowners in Redmond appreciate our attention to eco-friendly materials, aligning with the area’s green ethos.
Why Us? Decades of experience mean we anticipate problems, like reinforcing subfloors in older Kirkland homes built in the 70s. Plus, we offer free consultations to match your vision.
FAQ: Professional vs DIY Tile Installation
1. How much does professional tile installation cost in Kirkland?
Costs range from $8-15 per square foot, depending on tile type and complexity. For a 200 sq ft kitchen, expect $1,600-3,000. Kirkland Tile Installer provides transparent quotes—no surprises.
2. Can I really save money with DIY tile installation?
Possibly for small areas, but errors often lead to higher repair costs. In Kirkland, where humidity affects adhesion, pros save money long-term.
3. What tools do I need for DIY tiling?
Essentials: notched trowel, tile cutter, spacers, grout float, and level. Rent a wet saw for porcelain. For heated floors, consult pros to avoid voiding warranties.
4. How long does tile installation take?
DIY: 1-4 weeks part-time. Professional: 1-5 days. Factors like drying time in Kirkland’s weather play a role.
5. Is professional installation worth it for bathrooms?
Absolutely—proper waterproofing prevents leaks and mold, crucial in our rainy region. We’ve transformed countless Kirkland bathrooms with durable results.
Conclusion: Elevate Your Kirkland Home with Expert Tile Installation
While DIY tile installation offers a hands-on thrill, the risks often outweigh the rewards, especially in Kirkland’s demanding environment. From ensuring seamless porcelain tile installation to providing reliable tile repair services, Kirkland Tile Installer delivers excellence tailored to your needs. Serving areas like Sammamish and Yarrow Point, we’re your local partner for stunning, durable results.
Ready to start? Contact Kirkland Tile Installer today for a free estimate and let’s bring your tile vision to life. Don’t settle for less—your dream space awaits!